
R.C. vs. Fiber
Whats the big deal?Behind the Scenes © Jerry J White III
Print Session for art installation “Not Good Enough”
April 21, 2024
Written by: Jerry J White III
Over the past 7 months, I have been curating a new photo exhibit, comprised of images from the past seven years. Currently, I have worked through 70-plus rolls of film that I have never shown to anyone, deeming the images “not good enough” by me and no one else. In working through the negatives I did ample research on how to camera scan and how to work with fiber paper, where I received lots of conflicting advice.
Before we go much further I feel like I should contextualize RC and Fiber paper. The discussions online are full of information but in terms of discussion going smoothly here are some bullet points:
Rc - Resin Coated Enlarging Paper
Fast developing and drying times
cheaper and easier to clean and prep
available in multiple versions matte or gloss
feels thinner in the hand and dries flat.
Fiber -Fiber-based Enlarging Paper
roughly double the development times of RC paper
Requires at least 60 minutes of washing in moving water
drastically thicker which feels more professional
needs more attention to detail at each step
need to be flattened after drying.
After printing over 50 images during this past session I wish everything I read wasn’t so dire. I heard people saying you need a press to flatten or you should hang dry (definitely don’t do that unless you want huge curls). The moral of the story is that it wasn’t as hard as everyone said. Thankfully my other half of TCC also said it’s not as complicated as people said.
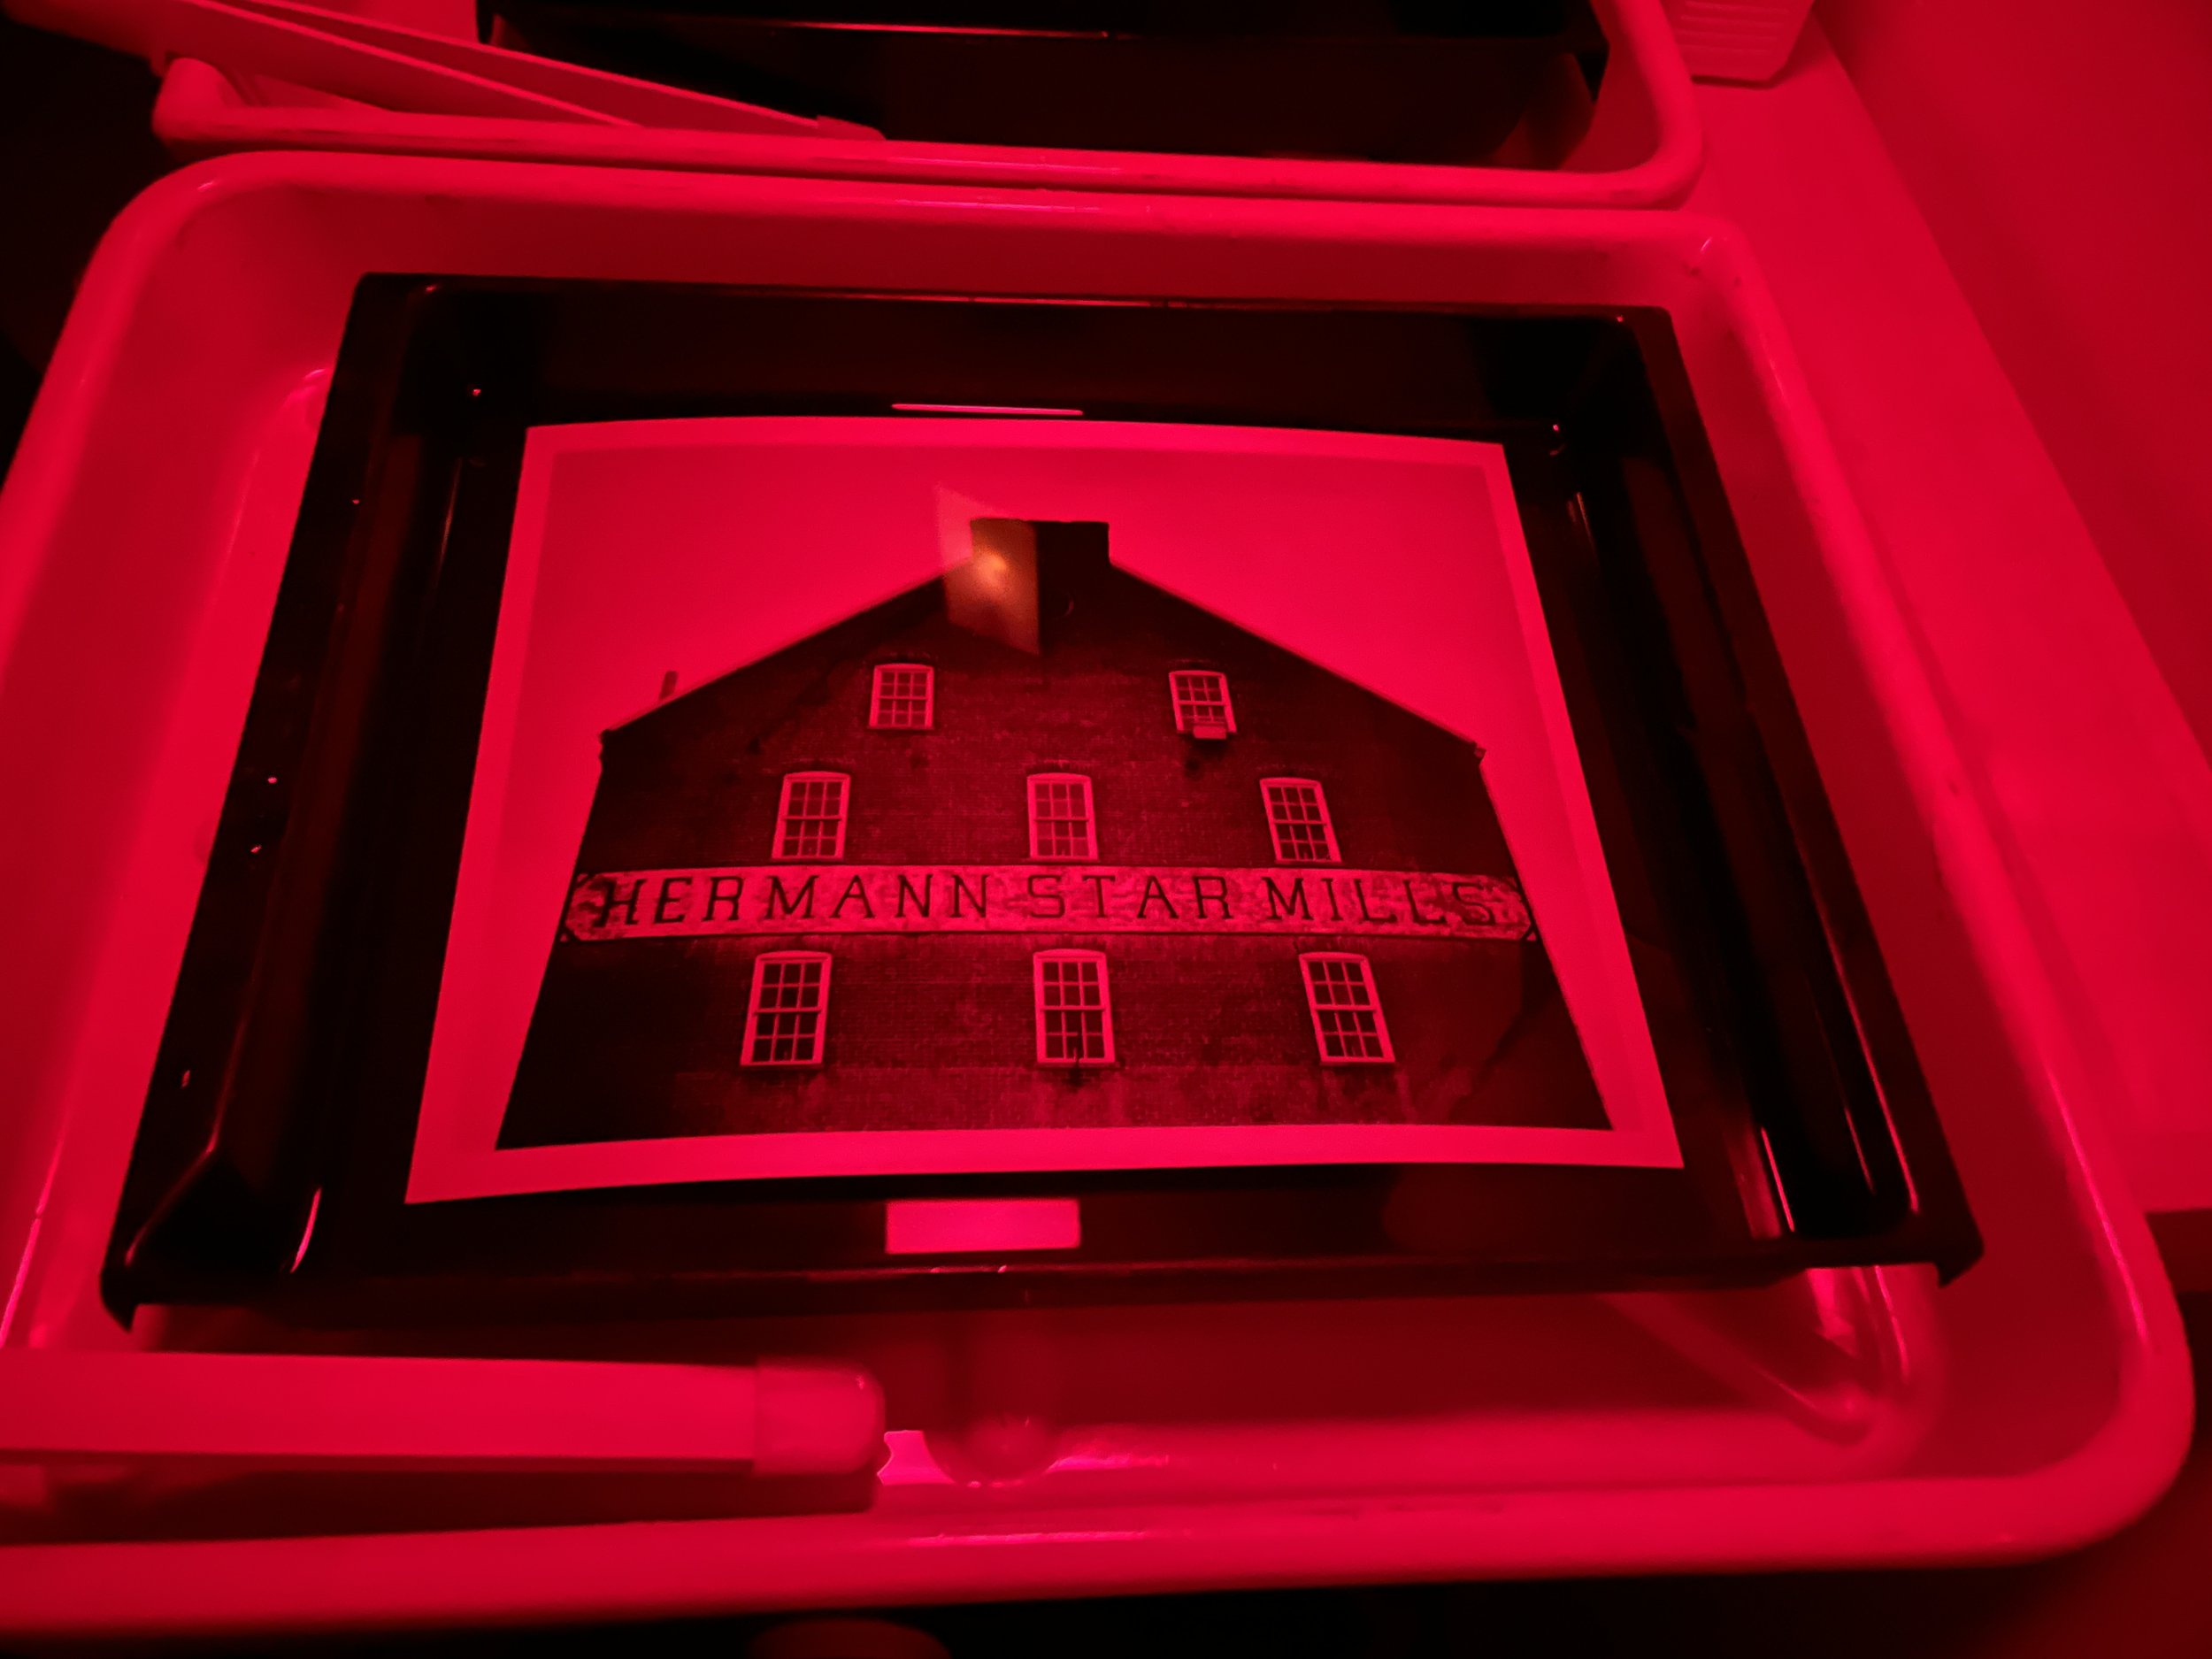
One of our goals of the Collective is to demystify film and take out the voices that say you need so much equipment. For reference, I did this in my spare bedroom and bathroom with a Bessler enlarger I found on Craigslist for 90 dollars. I blacked out the windows and went to work air-drying the prints in the shower. Special thanks to my wife for amusing me.
My DIY home darkroom setup.
Confusion #1
Fiber is harder to work with!
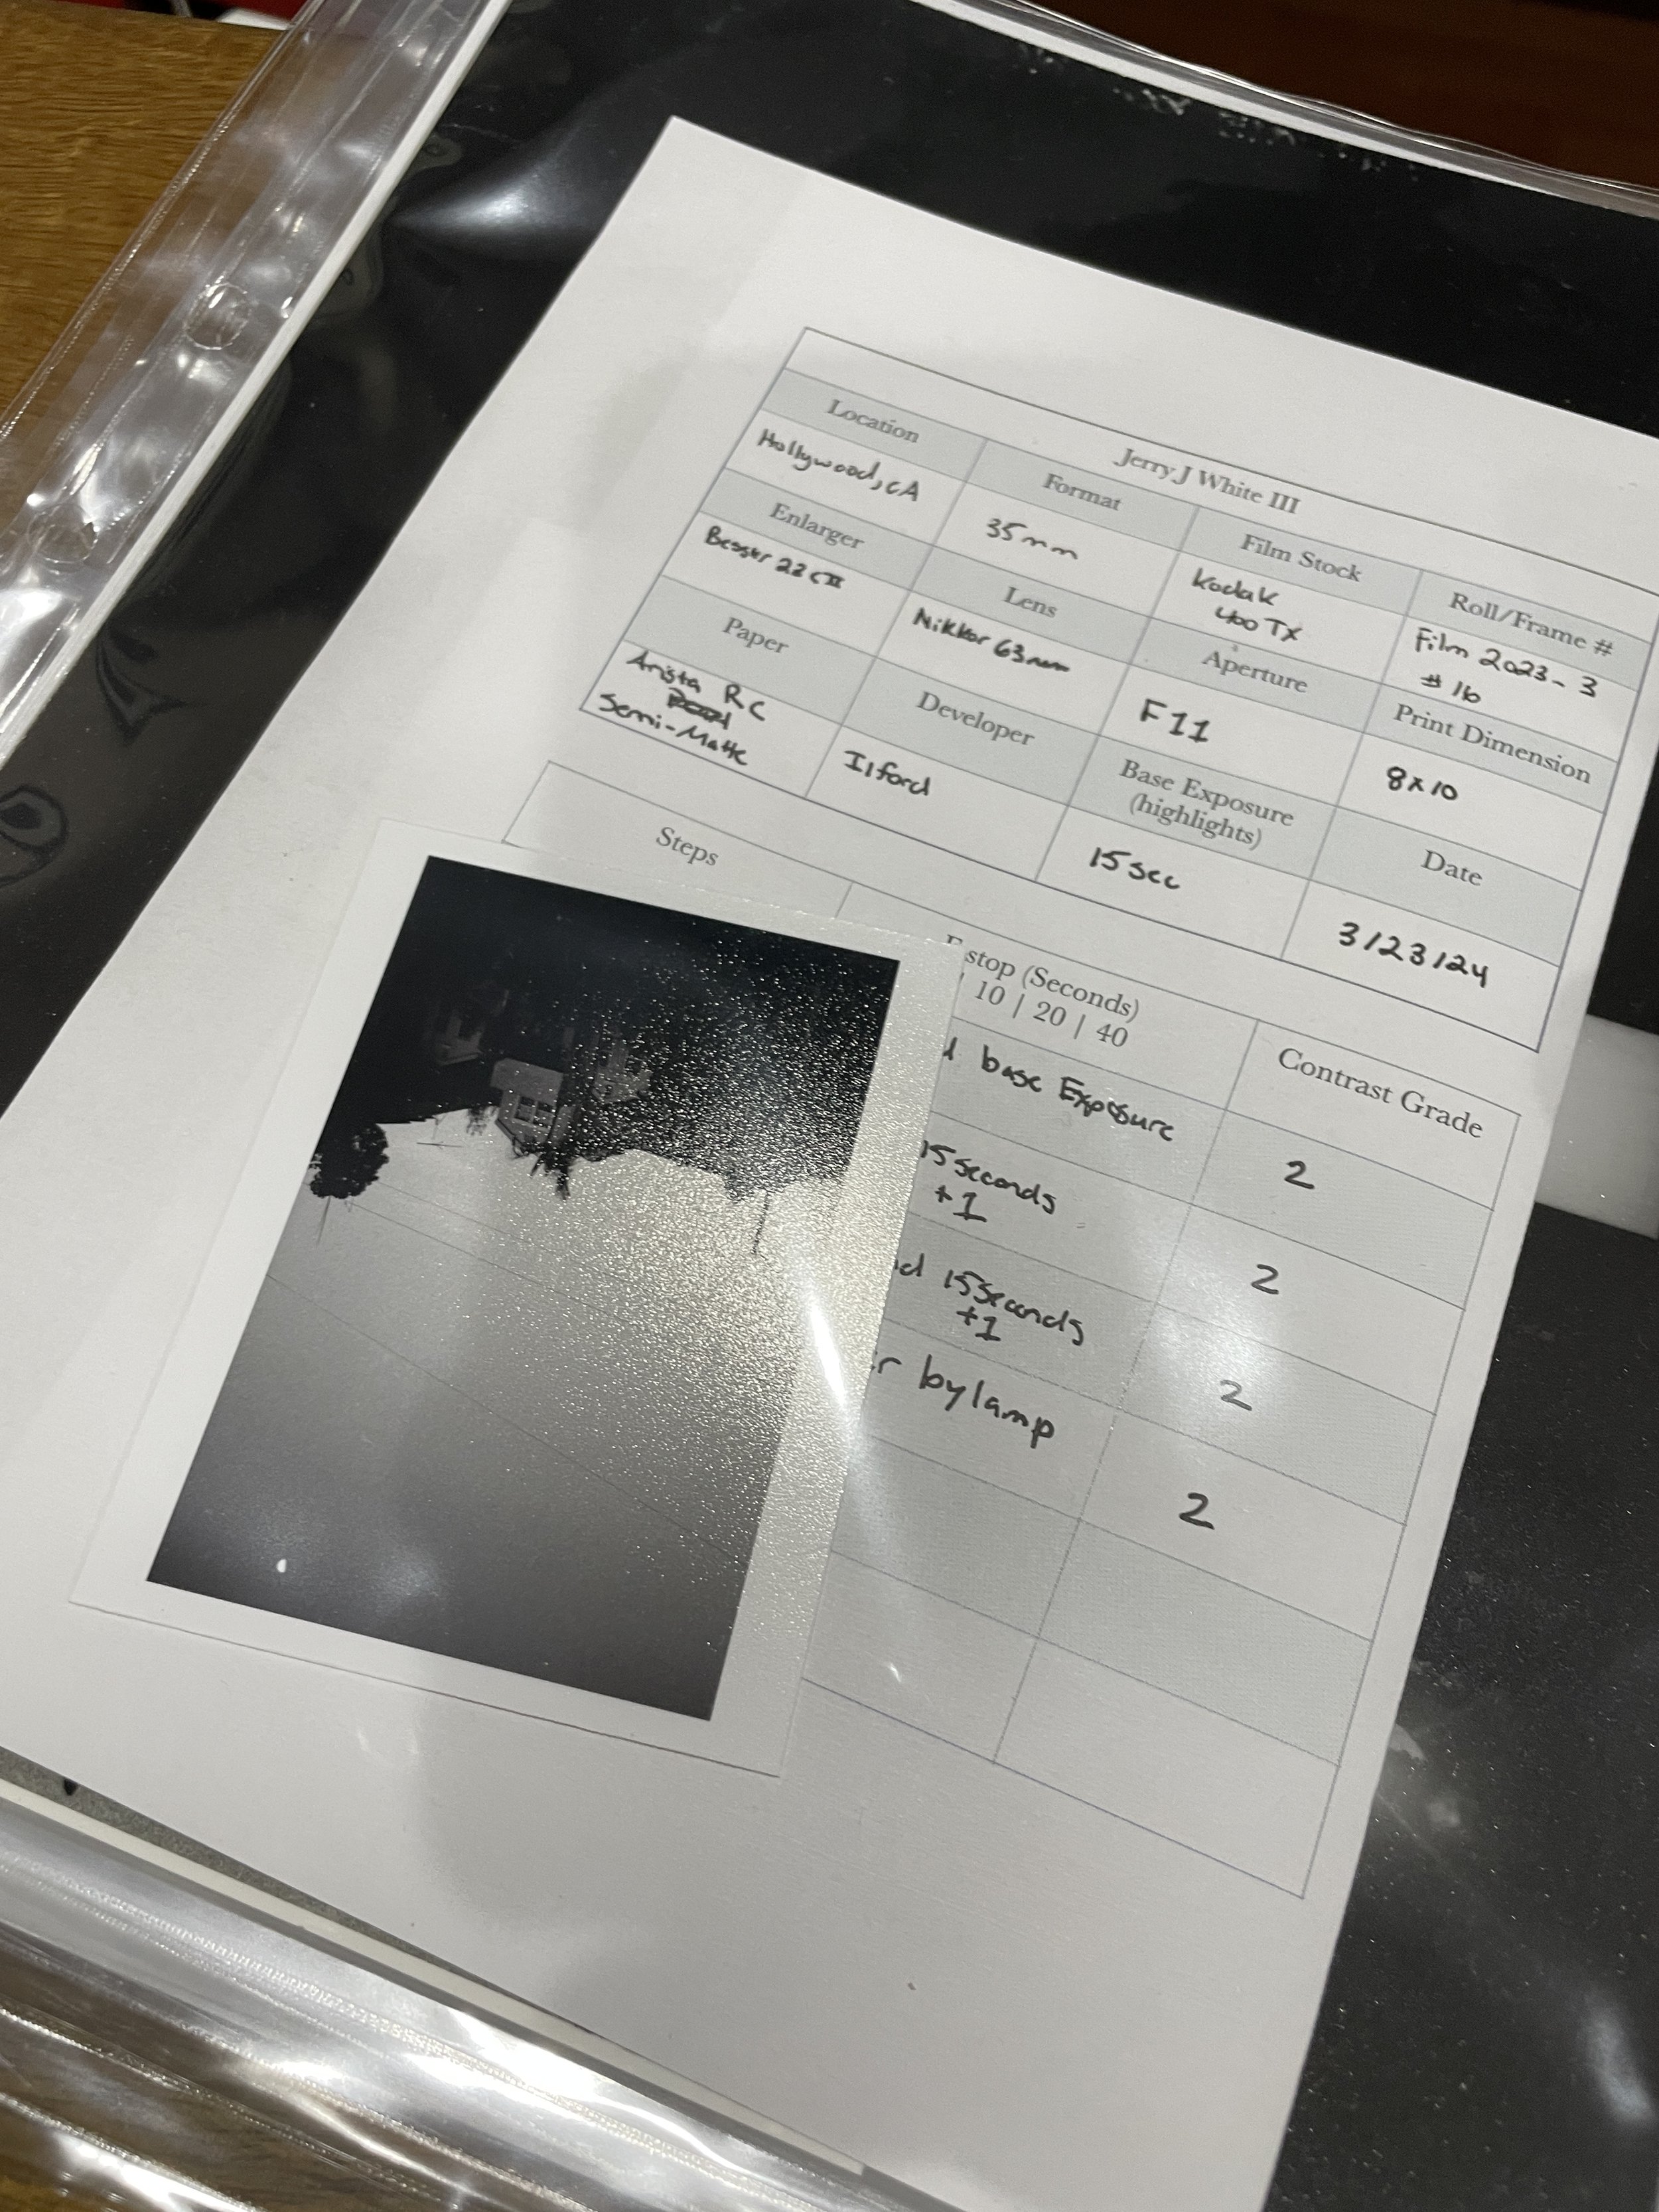
This was just not my experience. Multiple places I read said that fiber required more light, and while this is true from time to time, a quick test strip will alleviate any confusion on exposure times. You do need to place your print in the developer for 2 minutes instead of one and fix and rinse properly. I used Ilford chemicals mixed fresh to the manufacturer's spec each day, using the recommended times on the bottle. As with everything in the analog space, working to spec will help you feel successful early on and then you can change and adjust your times to taste. I would say that due to the extra time, you will have to slow down a bit more than you do with RC but speed is not why most decide to print this paper anyway.
Confusion #2
Washing is Tricky!
This was a point of discussion everywhere I looked. Some places said 30, 45, or even 60 minutes, but everyone was a little different. I used my homemade print washer for at least 45 minutes and the prints came out clean and ready to dry. As with RC I always wash a little longer than I think it should be. I remember when I first started developing film I would rush the wash step as I wanted to see the results as soon as possible. When you rush you get streaks and chemical residue that isn’t completely cleaned from the paper or film. Wash your prints for 45-60 minutes in moving water (making sure it’s slowly flowing) and you should be good to go.
Confusion #3
DRying is tough!
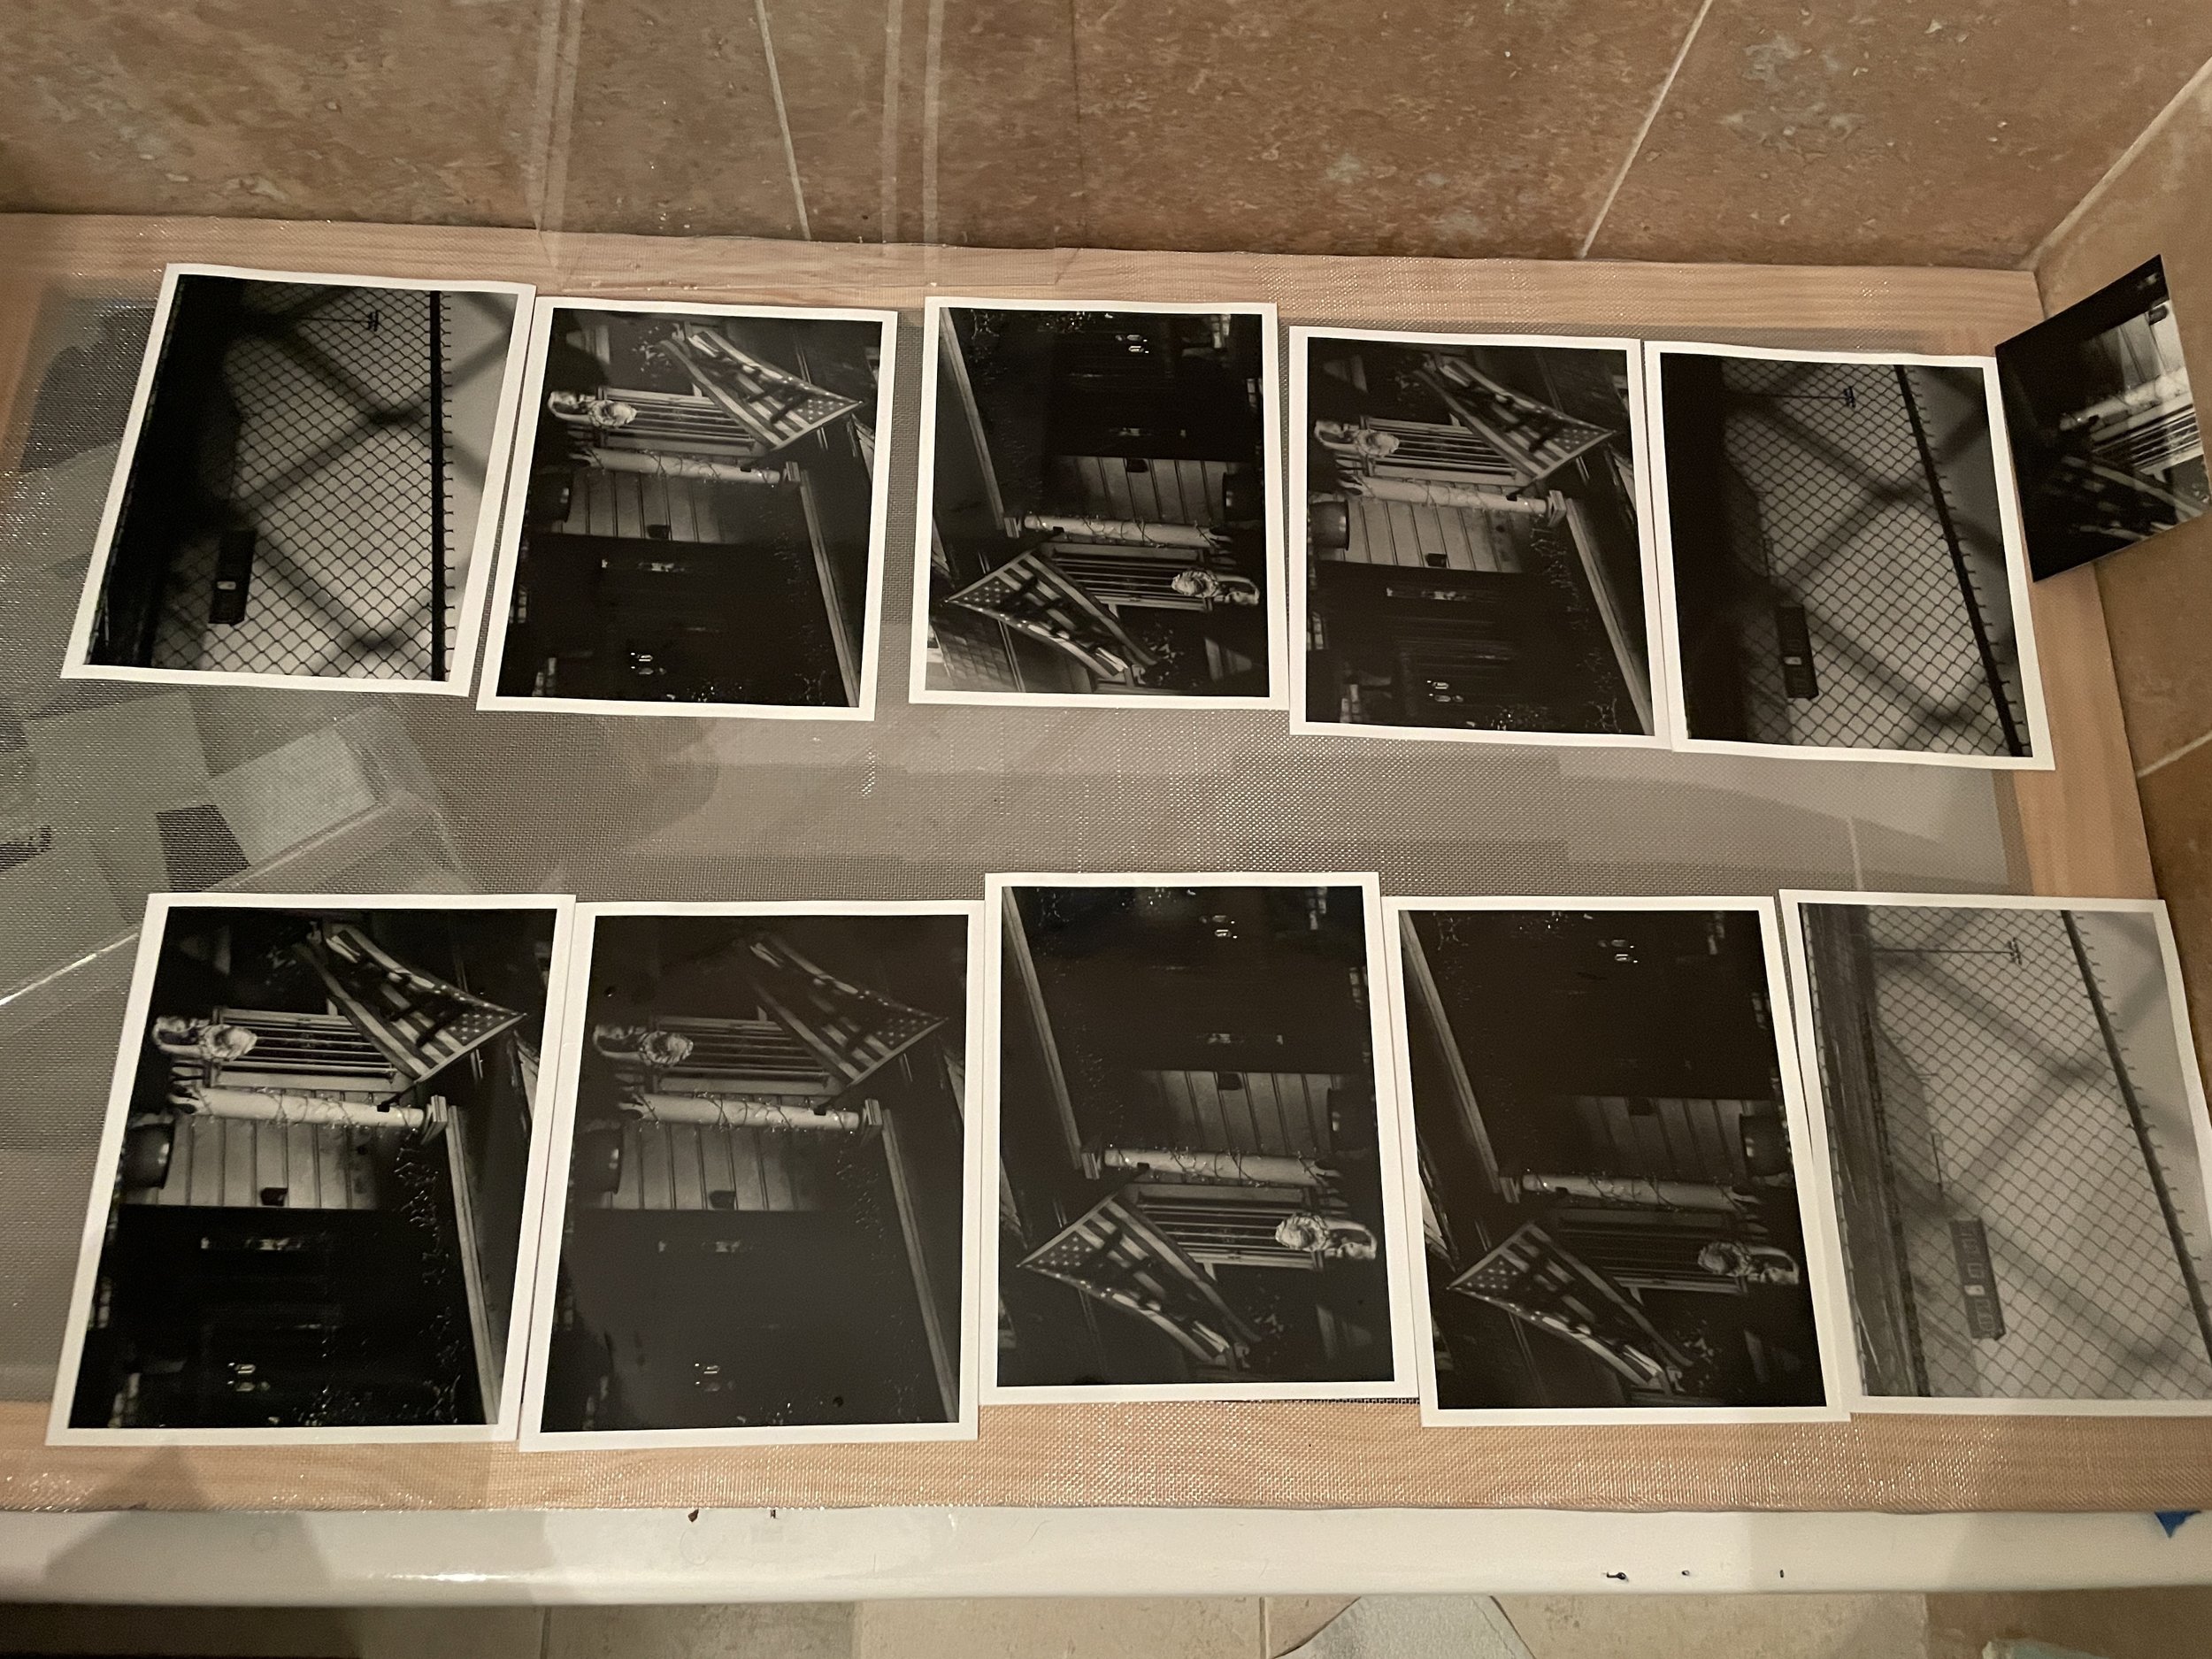
This step was the most concerning from what I had read. Multiple sources all had their unique way of drying. As a reference, I like to air-dry my prints. I made a wire screen to hold about 15 8x10’s at a time, resting over my tub allowing for drips.
Fiber prints. Curled images were hang-dried, and flat images were air-dried on the drying screen. Images were printed on Ilford Matte Fiber Paper.
While I have used roller and heated dryers, I think the image looks best when it air dries. With that being said air drying requires roughly 2-3 hours for RC and around 24 hours for fiber.
For these prints I took the lay flat approach for one round of images and got very few curls as it dried. For another version, I tried to hang the images back to back as suggested by some other blogs, which was a disaster. The images curled almost into a tube, requiring much more flattening in the final step.
Once dried completely I took the images and placed them into a sleeve protector placing a heavy book on top to weigh them down. The sleeve holds the images together and protects them from scratches. This approach eliminated almost all of the curls on the flat-dried images and time will tell for the hang dry as they are still under the book.
Another resource stated that they use a heated press for screen printing which I assume does speed up the process but if you have the time then a lay-flat screen works just as well for about $15 in supplies from your local hardware store. If you are interested in how I made the drying screen let me know and maybe we can do a video or article discussing the process.
Conclusion
As I finish up the first round of printing I am encouraged that, once again, you can do all of this with less equipment than most people online will tell you. At TCC we just want you to be more empowered to work in an analog workflow. Fiber may seem daunting but it wasn’t and I’m glad I just went for it. This type of paper is very expensive compared to RC so make sure to test strips when needed to save paper.
I hope this sheds some positive light on Fiber and I hope to see what you print in the future. Make sure to tag #thecelluloidcollective and show us your work. In the meantime keep creating and don’t let others talk you out of trying something new.
Jerry